Sunday 19 June 2022

Waterloo June 18, 2022

 I love it when I can play a game on the exact date of its anniversary. This year Waterloo fell on the same date as our local minicon so I got to run the game at my club. Unlike the time I ran the game in 2017, to save time, I did not bother with trying to model the terrain. I used a flat table but I did delineate a foot of table that represented Wellington's reverse slope that shielded the allied units from direct artillery fire. The three British players placed most of their units on the reverse slope and this worked against them later when they needed to maneuver those units quickly.

There were two forward fortified farm complexes held by the British at the start of the game:  Hougoumont, on the far British right, was held by the British Guard light companies and a unit of Brunswick light infantry, while in the center, the farm of La Haye Sainte was held by a unit of Rifles. For the purposes of the game, both complexes were represented by much smaller footprints than was historical. The rules we used are a variant of Neil Thomas’ Napoleonic Wargame rules called Frog and Toad. Neil Thomas is known for his quick play One Hour Wargames. In my opinion, simple rules work well with my 54mm miniatures.

Every Waterloo game I have played in or run resulted in a game were, to quote Welllington: "They came on in the same old way and we defeated them in the same old way." This is because the French commanders all want to get into the action and the result is separate uncoordinated attacks all along the British line which are easily held off with the usual British defensive tactics. This time the French commanders tried something new. The players on the left and the center played holding actions or at best demonstrated against their respective British opponents. The commander on the right mounted a strong infantry attack that was supported by almost all of the French cavalry. 

On the left the French advanced into the woods surrounding Hougoumont but were thrown back by the defenders. The rest of their infantry advanced between Hougoumont and La Haye Sainte and stopped to allow the artillery to fire over their heads on the British and allies who were visible on the ridge. In the center, the main French artillery blasted the British left in preparation for the infantry attack. The massed columns on the right made steady progress up the hill towards the British line.

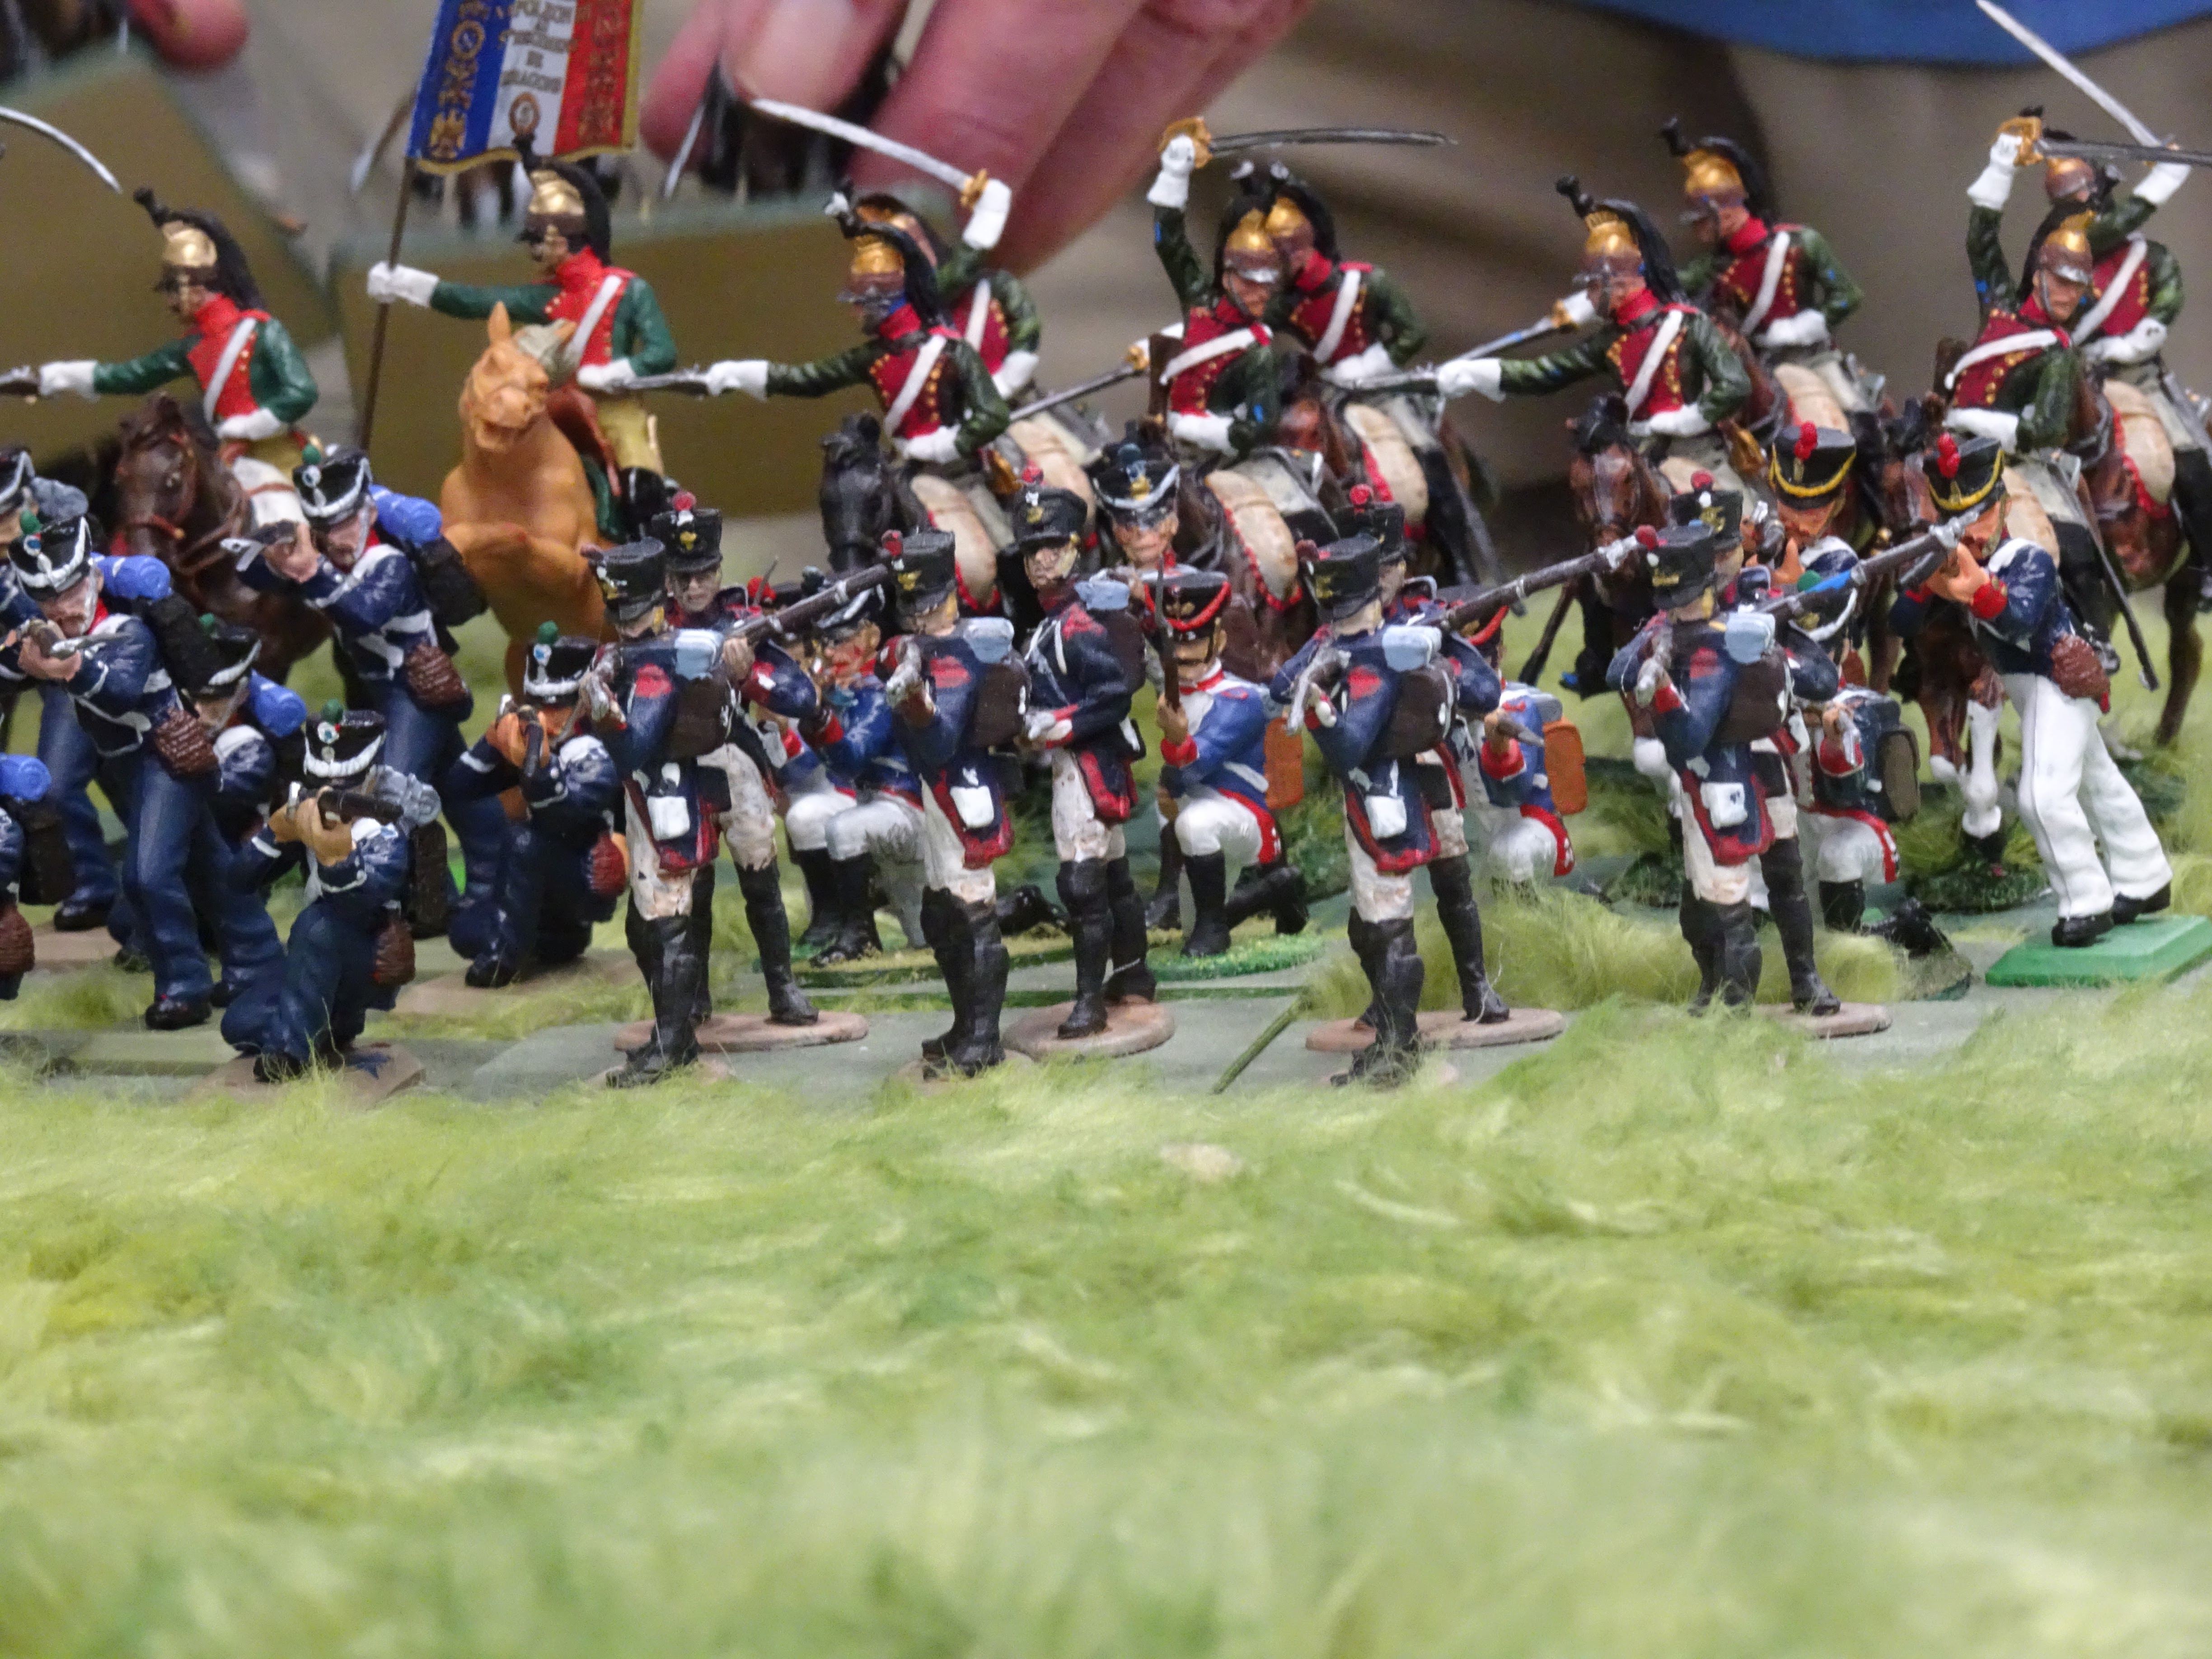
Back onn the left, French and allied light cavalry fought a duel that ended with the British in undesputed possession of the hill behind Hougoumont. In the center the French were able to force the Rifles out of La Haye Sainte and the advance on the right continued, with the addition now of the Old Guard.

There was much action on the French right when the columns came within musket range of the Belgian units in the front line on the crest of the hill. One Belgian unit was destroyed by volley fire and the other lost a melee against three French units. The British Guard cavalry next charged into the French column and took out two French battalions but it was then blown and routed from French close range musket fire. Too late the British commander in the center sensed the danger and tried to maneuver his foot and cavalry units to reinforce the left but he was stuck in a log jam trying to exit the reverse slope. We called the game a French victory after the French Dragoons overran a British battery and the Old Guard, Cuirassiers and Carabiniers had reached the top of the slope, ready to plow down the flank of the British.


Monday 13 June 2022

Fictional Russo-Ottoman Napoleonic campaign - part 3 - "day"6

On "day" or campaign turn  6, 2 more encounters took place.

On the far left, 2 smaler forces moved against each other, resulting in a brief clash. A  bigger enconter was taken to the tabletop.

For a second time, Razgrad, as a strategic place, was the spot of a big encounter.


2nd Battle of Razgrad

2 Russian brigades had dug in and around Razgrad (1brigade of 2 battalions of grenadiers, and the other with 2 battalions of Jägers, a battered regiment of hussars, a heavy battery, and a unit of Cossacks. They were attacked by 2 brigades, one of 3 units of Albanian skirmish infantry, and another of 2 new army battalions supported by heavy cavalry and a medium battery, the latter brigade commanded by Prince Petros of Wallachia.

The Ottoman troops skipped a turn to wait for the troops of the Persian Expeditionary Corps (1 regular battalion, 2 battalions of Caucasian irregular skirmish troops), but another brigade of Russians came in support into the Ottoman right flank comming from Venets: 1 regiment of dragoons and 2 units of Cossacks).

The Ottoman troops on that side were skirmish troops lining up, supposing that the Cossacks would not dare to attack. Unfortunately, troops in skirmish are just an ideal target for the Cossack lancers. The Ottomans suffered losses but were not broken. They quickly moved into blocks with their remaining units. On the other side of the table, the New Army's 1st Battalion suffered losses from a combination of artillery and musket fire. On that flank reinforcements arrived from Opaka, led by Bosnak Sieg Agha:2 brigades, one from Moldavian irregulars and one from Janissaries and Anatolians. Both supported with cavalry.

While there was a status quo on the Russian left flank, the combination of three brigades moved against the Cossacks, hussars and 1 battalion of jägers on the Russian right flank. Ottoman progress could be slowed down but not stopped. The hussars and the jägers were destroyed and the Cossacks left the field. Attempts to direct troops from the pther flank to the right  were aborted, a late arrival of a weakened Russian infantry brigade of 2 weakened battalions with only 1 weak general and no officer failed to advance in an orderly fashion to put any pressure on the Ottomans.

On the Russian side, it was mistakenly assumed that it was enough to hold the village until the last turn, but with the Ottoman troops threatening to encircle the village and with only 2 battalions opposite, a retreat was the only option.


Battle between Ivanovo and Dve Mogilic

The encounter was virtually simulated by the game master.

A “New army” brigade with 2 batteries supported by a brigade of irregular light cavalry on the Ottoman side were confronted by a brigade of dragoons with a horse battery and battalion of landwehr, supported by the guard brigade light cavalry (1 regiment of hussars and a ulhan with an elite ridden battery). The guard units went to the Ottoman light cavalry. In the 2nd inning there was fighting and the Ottomans withdrew with 1 loss . The Ottoman batteries were positioned  and covered between the new army units in square. The dragoons remained at more than 60 cm, but the guard battery positioned itself in such a way that the Ottoman batteries could not fire at them. The Ottoman medium battery fired at the dragoons but a few flags over the turns resulted in no loss. In the third turn, the Ottoman light horse were attacked again. No losses but driven from the field, the uhlans suffered 1 loss.

In the same turn, the guard artillery fired on one of the squares and repeated it the next turn. The unit in square suffered heavy losses and was reduced to 3 figures.

The signal for the uhlans, supported by the hussars, to attack. The weakened square was broken and with the breakthrough the Ottoman horse battery was destroyed. The ulans suffered a 2nd loss. In the sixth turn the uhlans and hussars retreated and the fire from the 2nd square on them had no effect. The seventh turn, the remaining Ottoman troops withdrew towards Popovo